IRC AND AMAZON AWS: A BRIEF TUTORIAL
For my second Honors project with Mr. Vic, I went back to the drawing board for another how-to, in hopes it would go better than the last go-around with a different provider picking up the tab.
I'll be using AWS EC2 to host a cloud-based IRC server, and attempting to connect to it and send messages.
STEP 1: SET UP AN INSTANCE
First off, you need to create an Amazon EC2 instance. Amazon EC2 instances are rapidly deployable virtual machines with a server operating system preloaded. They are configurable and scalable to an extent on-the-fly to meet specific resource demands.

For this tutorial, I will be using a Windows Server instance. Setup will vary rather significantly with other operating systems, so be warned.

Settings will be mostly default, but be sure to assign a key pair to the instance and download the .pem file Amazon spits out. You will need it to remote into the EC2 instance.
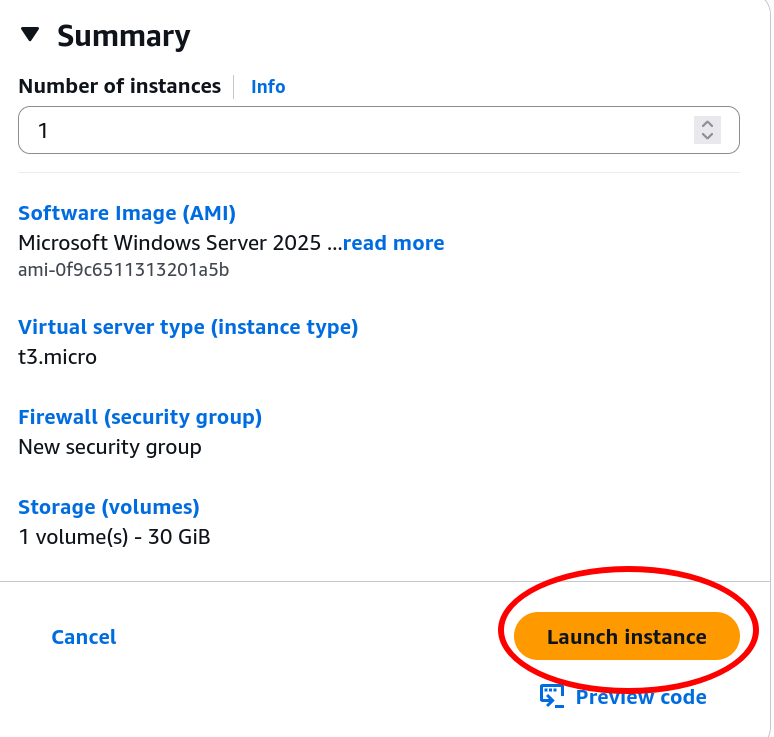
Once you're done, click "Launch Instance" to deploy the instance, and wait a few minutes for AWS to set the instance up.
STEP 2: INSTALL IRC SOFTWARE ON INSTANCE
Next, connect to the instance. This can be done a few ways on EC2, but we'll be using RDP to access the familiar Windows graphical interface.
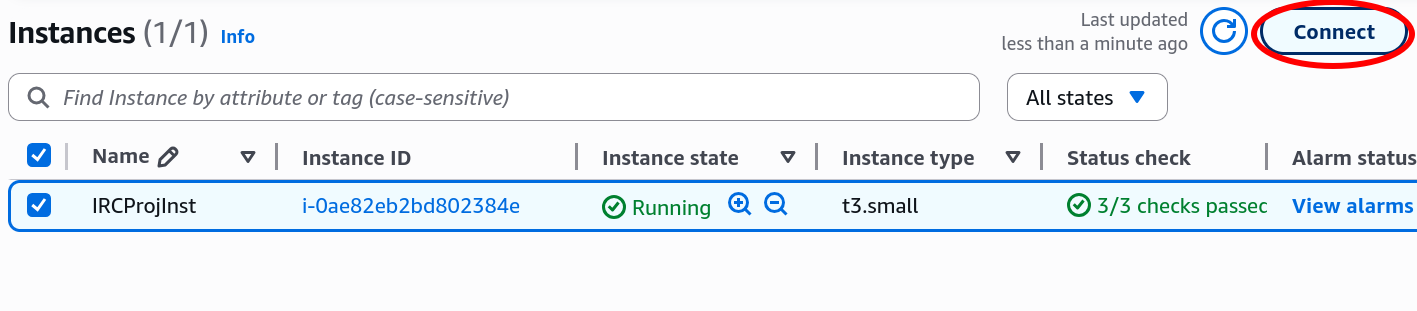
On the list of instances, once the instance has been launched, click "Connect."
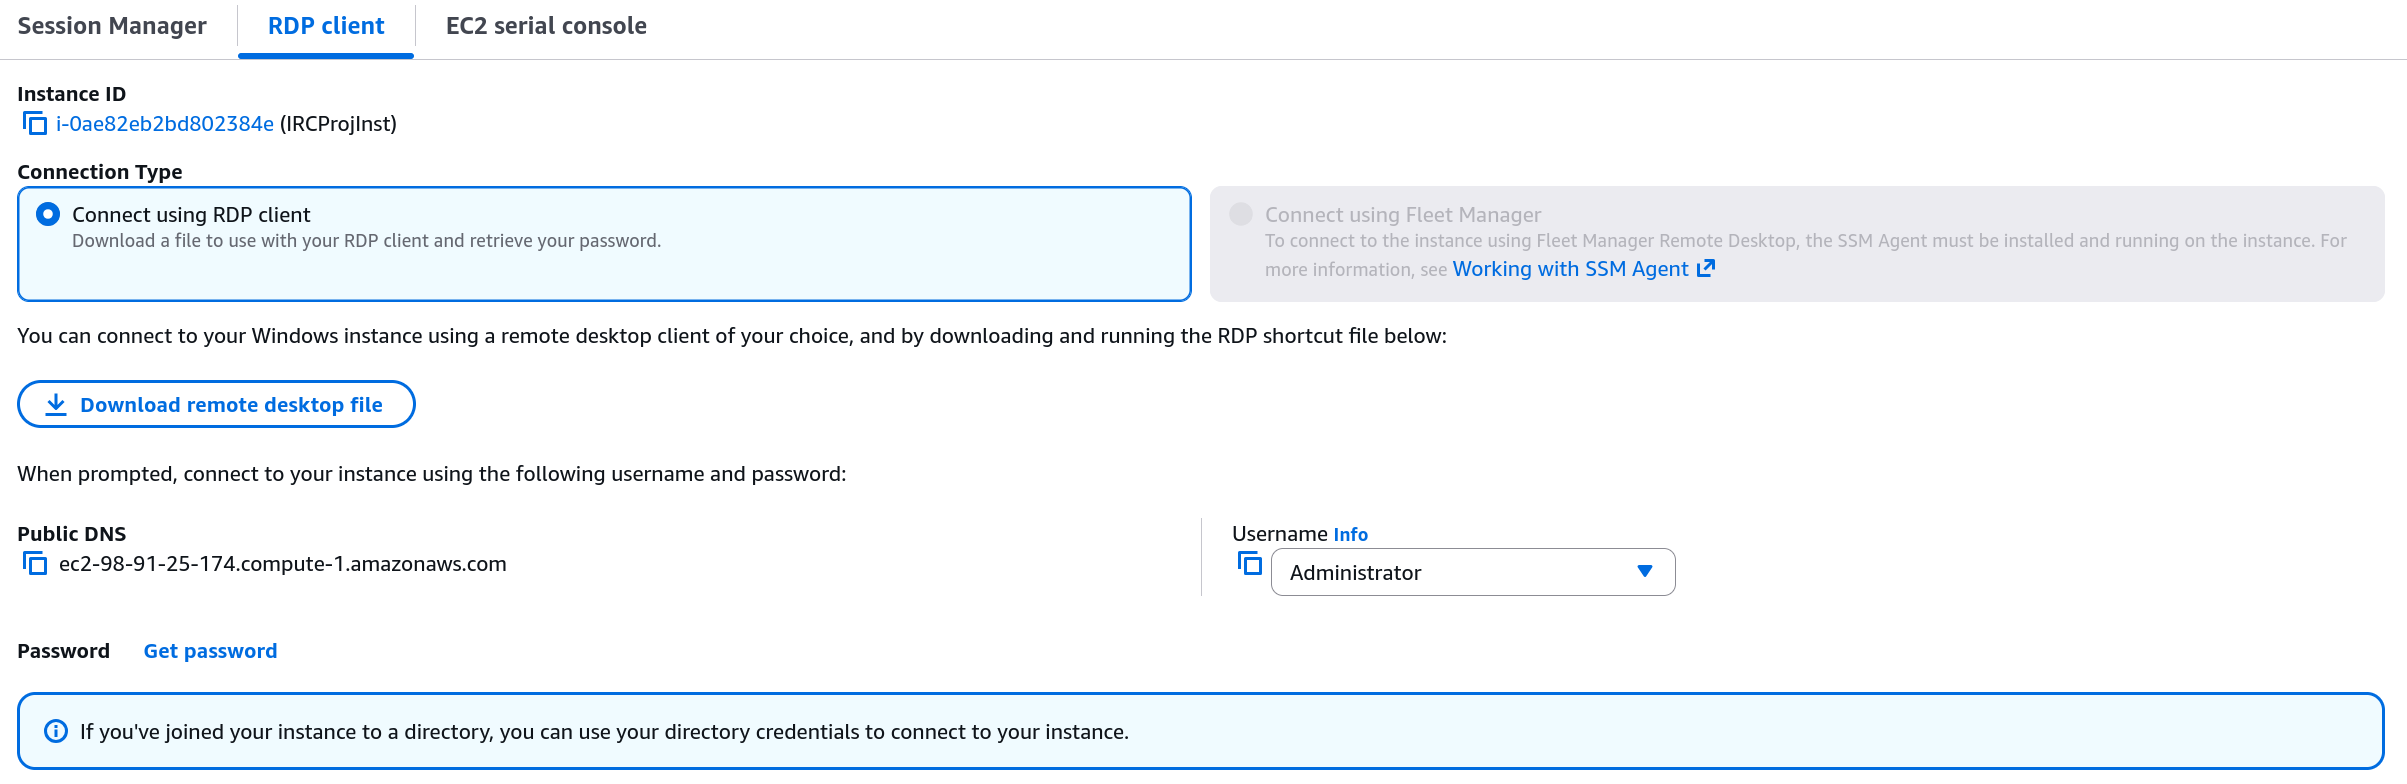
You'll be prompted to download a remote desktop file and retrieve the password with your SSH key from earlier.
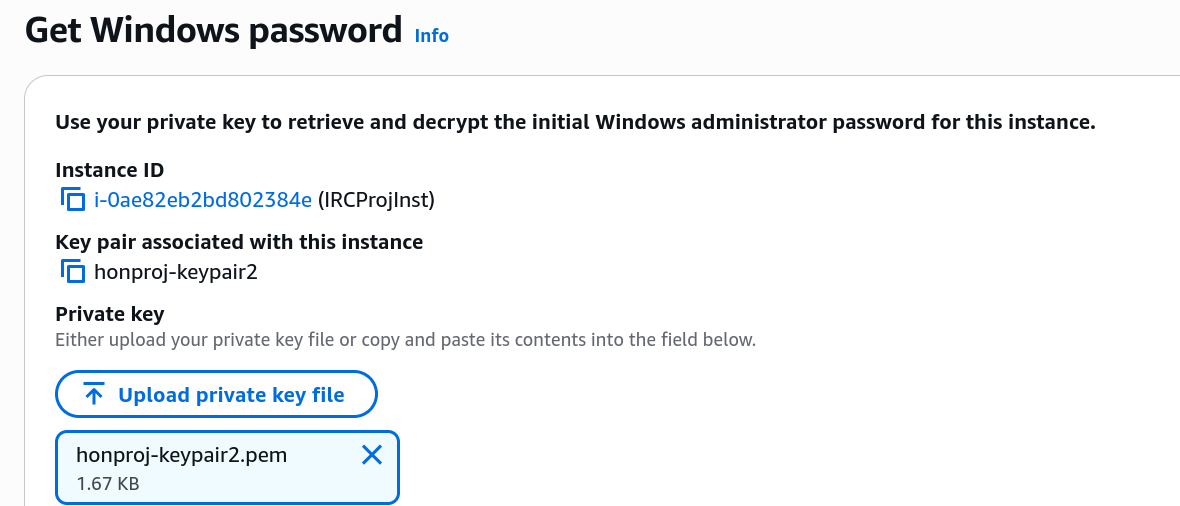
When getting the password, upload the key pair file you were given prior. You'll receive the decrypted password, and you should save it for future use.
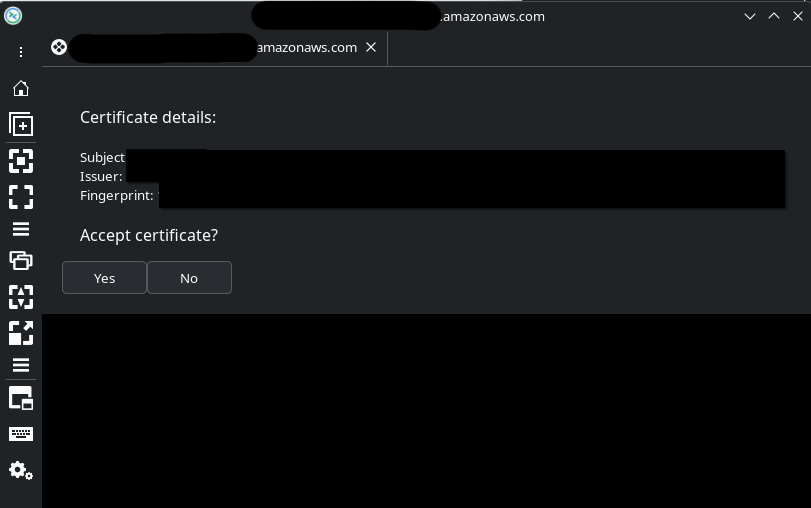
Use a remote desktop client to open the remote desktop file and connect to the machine. You may ask to accept a certificate, as I do here. Do so, and you'll be connected.

I'll be using UnrealIRCd as my server of choice. Download it from the official website and run the installer.
STEP 3: SETUP IRC SOFTWARE ON INSTANCE
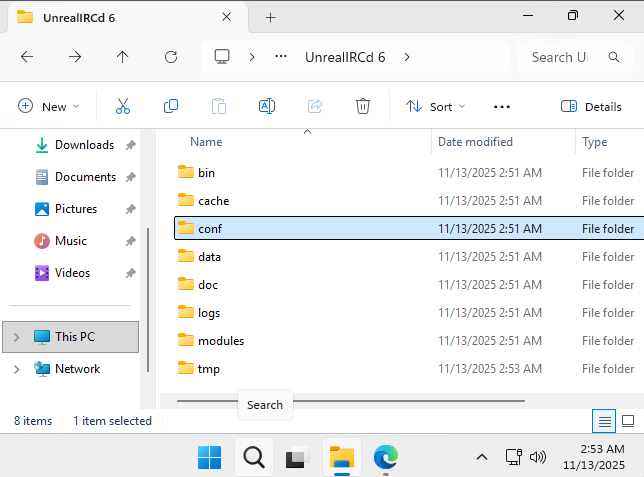
In line with the official instructions, navigate to the folder you installed UnrealIRCd to. You will need to find the config folder to create a default configuration for the server.
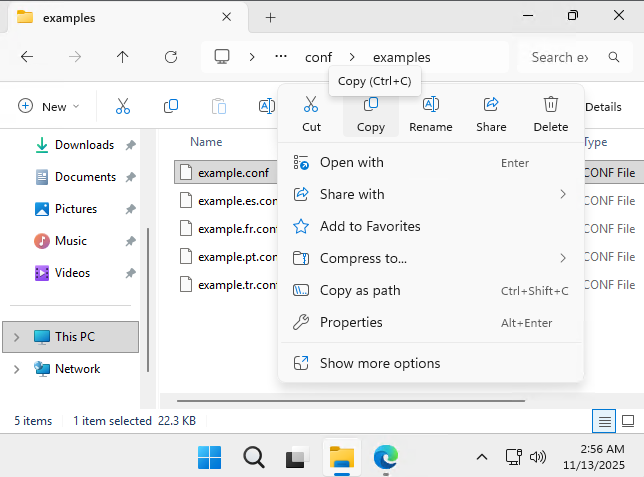
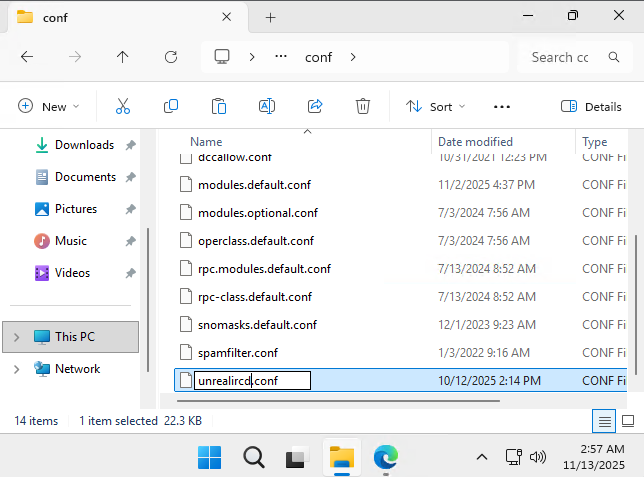
Use the example file in the "examples" subdirectory, copying it from there to the "conf" parent directory and renaming it "unrealircd.conf" after.
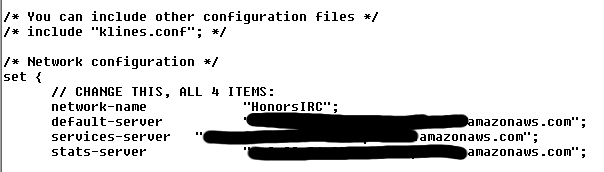
Go through the config file piece-by-piece, following the documentation and configuration file instructions. Highlighted in this image is the ever-important network configuration, which I have just set to the domain name of the EC2 instance.

Lastly, before running the daemon, go back to the AWS Management Console in the browser of your regular computer. Open up ports 6667 and 6697 in the security group you attached to your VM.

If you've set everything up correctly, you can launch UnrealIRCd from the desktop icon on the EC2 machine, and it will show you a small menu. This means the daemon is running and can be configured from this screen.
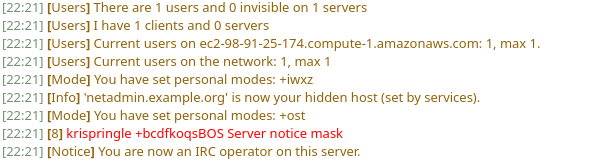

With that, the setup is complete! I used "/join #general" to create a channel and had two clients join--one from my personal Arch Linux box using Konversation, and one from a Windows media PC using mIRC. They were able to successfully communicate over IRC!
STEP 4: REFLECT ON SUCCESS
With all of this behind me, I'm proud to say I learned quite a bit about Amazon EC2. I was always one to learn by doing, and this cemented a lot of the knowledge I'd accrued from my AWS training, to wit:
- I brushed up on how to set up an EC2 instance.
- I learned how to configure an RDP connection for Windows-based EC2 instances.
- I learned how security groups work in EC2 and configured one to allow specific port traffic.
A lot of this came together last-minute, but I'm glad to have gotten it done nonetheless. I hope I can use a lot of this knowledge going forward.