HOW (NOT) TO USE DOCKER WITH THE CLOUD
For my Honors Project work with Mr. Vic, I decided to try my hand at a how-to. Inspired by another student's desire to implement a cloud server and play Minecraft with other students, I decided my objective was to host an instance of a little project called Cobalt in the cloud and document every step of my little journey.
I'm going to retrace my steps in "how-to" format so you can learn what I learned about working with Azure's cloud deployment tools as an end-user.
STEP 1: Select a Provider
First, I had to pick a provider that was right for my situation. Any of the big three (AWS, Azure, GCP) would do infrastructure-wise, but I ended up settling on Azure in particular due to students in my school already receiving educational credit to host virtual machines with--no payment method upfront and no questions asked.
STEP 2: Setup a VM
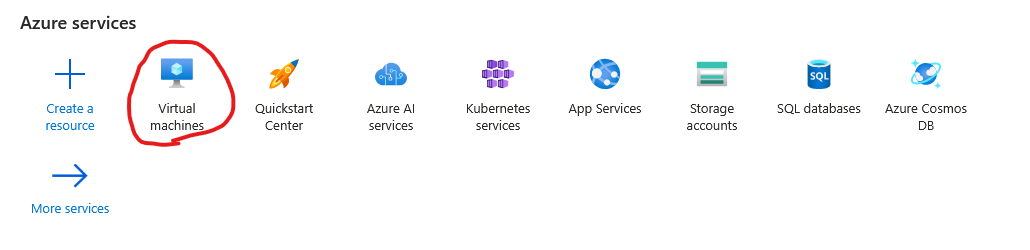
Of course, the first order of business when hosting any cloud-based software is setting up a resource. Azure makes it nice and simple, and all you must do to get started for a test machine is setting up the VM.

As Linux is the expected environment for a majority of Docker applications and use cases, I'll be using Ubuntu Server and an otherwise-default configuration for this VM. You'll be asked to add features like a resource group, which don't require much configuration for one machine from the outset. If you're not creating a resource simply for testing or proof of concept, maybe consider changing the authentication altogether or blocking off the by-default open SSH port from being accessed by IPs outside of a given whitelist.
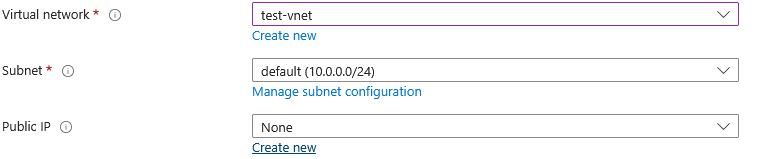
Be sure to enable virtual networking and a subnet; you can't actually remote into a machine if there's no connection.
Give Azure time to deploy the VM, and then you can move on to the next step.
STEP 3: Access VM
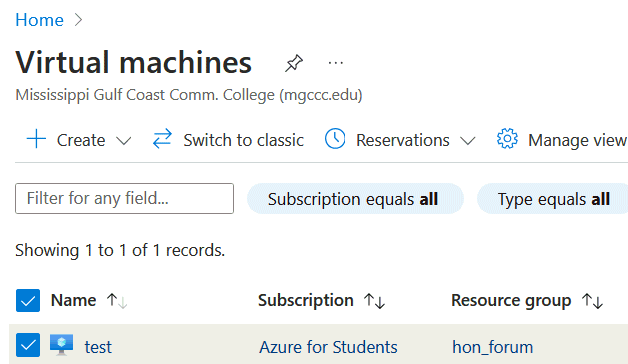
You should now be ready to remote into the machine. Navigate to the VM from the Home/Virtual Machines menu in the Azure Portal.
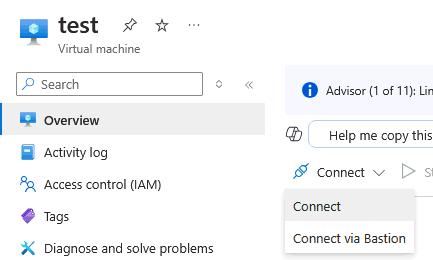
Click "Connect," either on the button or in the dropdown.
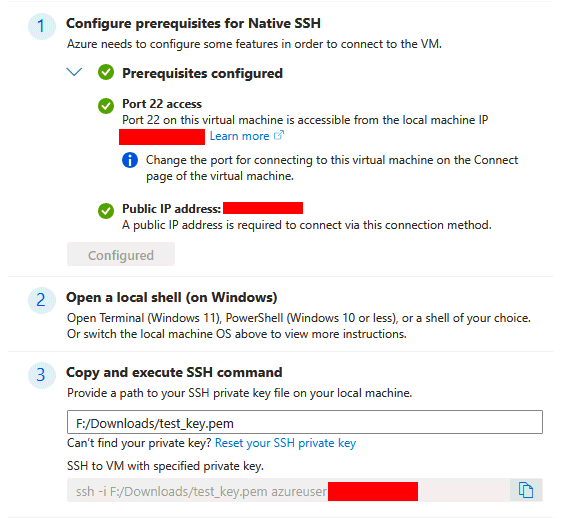
Select either SSH option; I'm going with native SSH because I find it more convenient to have a separate terminal window, so I have to download and point to a private key on my machine. If you must do the same, follow the instructions from the web app.

Once that's done, you should be able to use the command it gives you in any terminal application, such as PowerShell.

Congratulations! You're connected and can now begin the process of hosting your Docker application.
STEP 4: Install Dependencies
As Cobalt requires Docker and Docker Compose, I needed to install both. Cobalt's documentation helpfully pointed to a website called Digital Ocean that provided articles for running both Docker and Compose on Ubuntu Server. Follow the instructions of the first steps from each tutorial to get them installed.
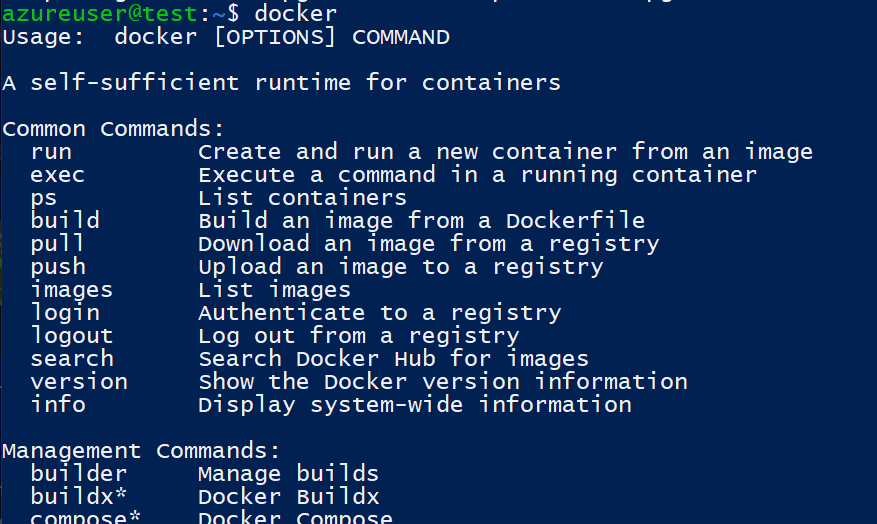
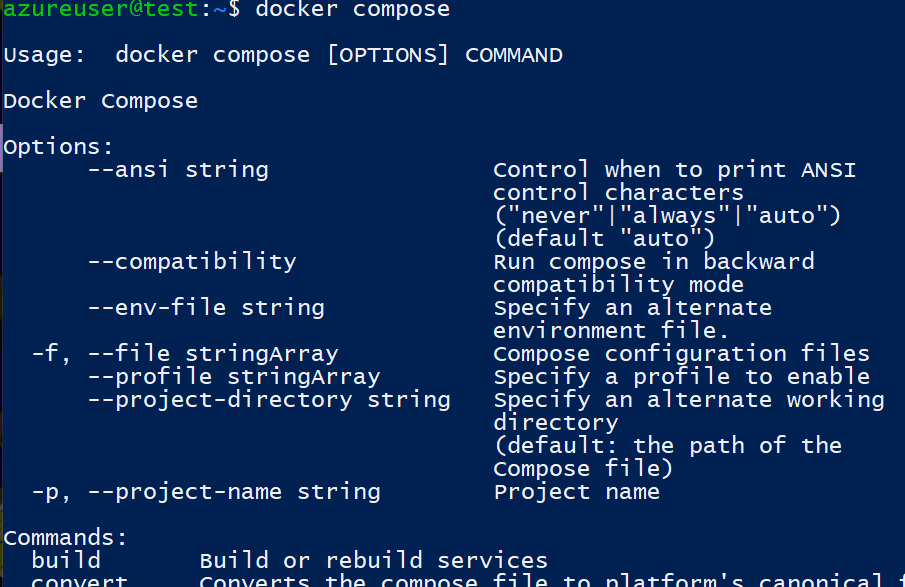
Once they're installed, you can simply enter the commands "docker" and "docker compose" to check that they installed properly.
STEP 5: Build the Instance

Cobalt's documentation then instructs to make a directory called "cobalt" and navigate into it. We need to create a configuration file called "docker-compose.yml" so Docker Compose knows what we're trying to build.
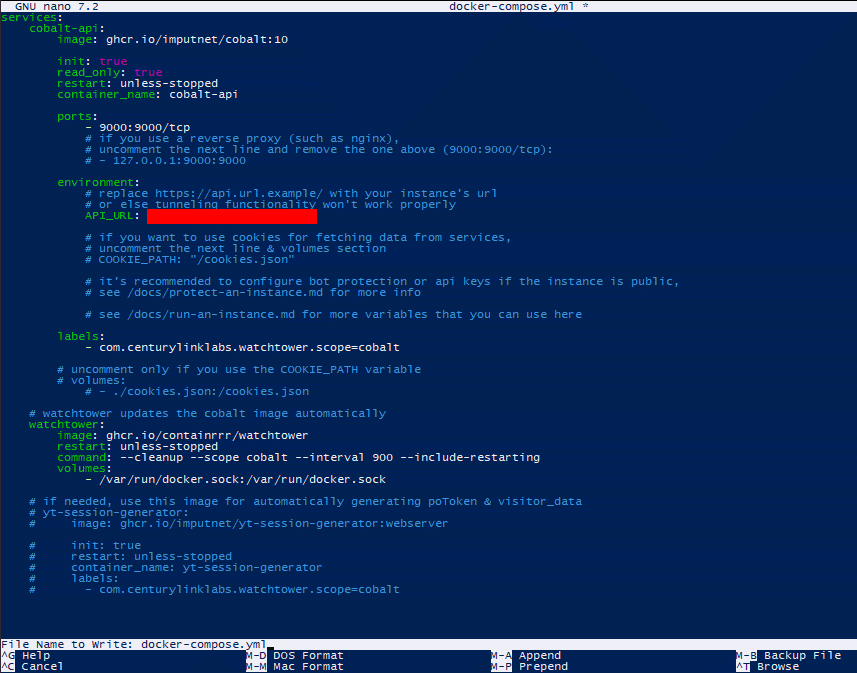
Using their provided sample config as reference, I created a configuration that would use the default port for the Cobalt API, 9000.
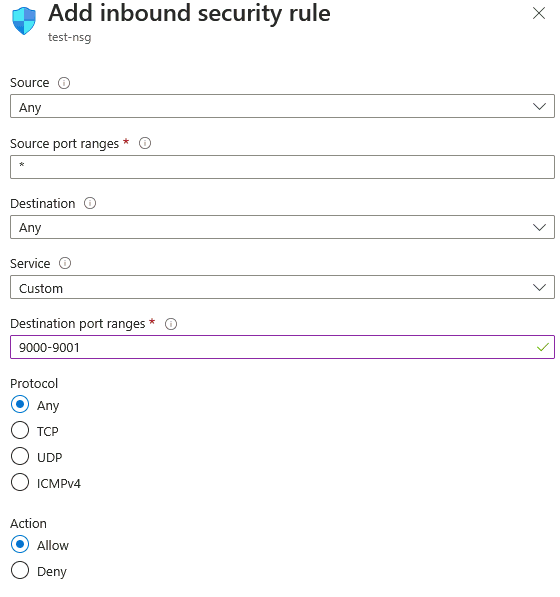
Be sure to return to the network settings for the VM in Azure and made sure ports 9000 (for the API) and 9001 (for the web frontend, if needed) are open.

From there, just run Docker Compose. The instance will fire up.
STEP 6: Fail...Wait, What?
Yeah. I *did* tell you this was how NOT to use Docker with the cloud. Here comes the postmortem.
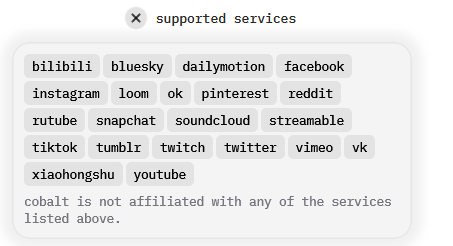
To my delight, when I first went to use the instance with Cobalt's website, I saw that the instance was able to successfully report the Cobalt API's supported services.
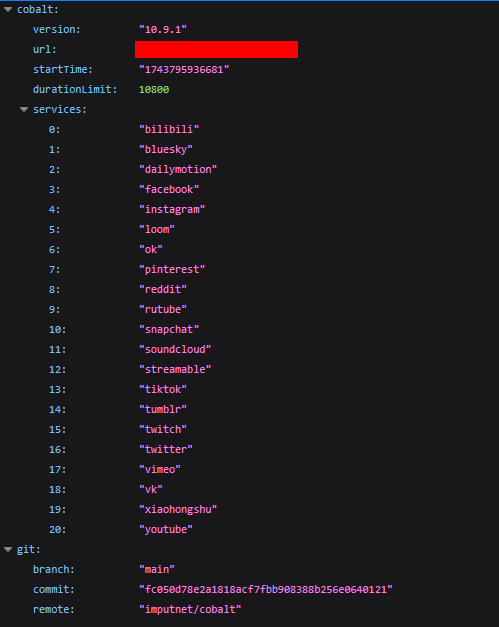
Better still, navigating to the URL myself showed a printout matching my configuration and echoing the supported services.
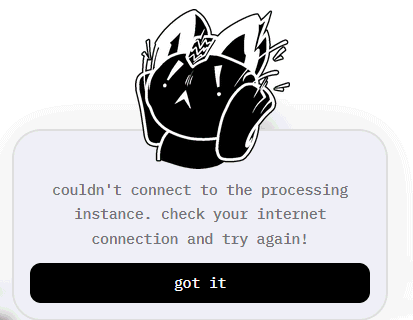
However, no matter what network I used, no matter what configurations I made to the firewall, I could not get Cobalt to connect fully to the instance in order to download any media.
I desperately searched for a way to host the web frontend myself, and was relieved to find a modified Dockerfile and compose config to that effect.
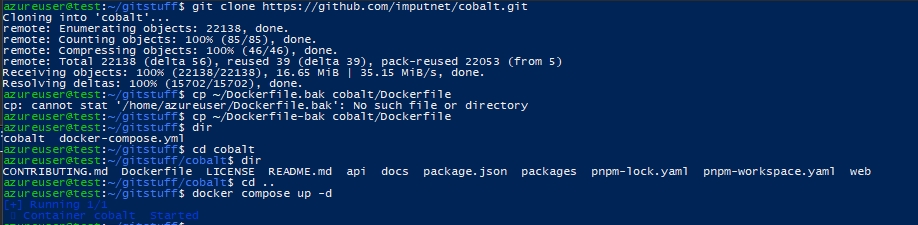
Knowing I'd need to pull down the Git code of the Cobalt project to use it, I installed Git (sudo apt install git), pulled to another folder and made the changes I needed to make. It built, and I hoped I was in the clear.
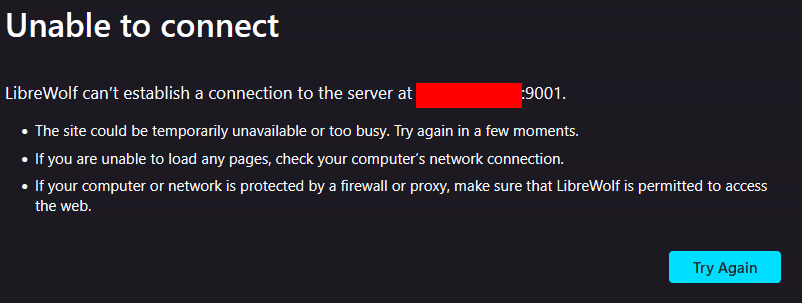
Dead end, yet again. I couldn't even get the API printouts like with the normal Compose method.
STEP 7: Reflect On Failure
I still learned a lot from the experience I documented here, I would say. Never would I have interacted with cloud tools so much if I did not endeavor to make this VM work.
- I learned how to setup Azure's services and host virtual machines therein.
- I learned best practices for setting up SSH on a machine, and got first-hand experience remoting into a machine without a GUI interface.
- I brushed up on my Linux command line skills, and learned how to successfully host something that could be seen on the front-facing Internet, regardless of its lack of functionality.
I'm more than excited to continue experimenting, but I'd generally say that I learned a lot more than I expected from this experience besides how (not) to use Docker with the cloud.